Want to Upgrade Your Hosting Plan? Follow These Easy Steps
If your website is growing or you need more features, upgrading your hosting plan on StormerHost is simple. Just follow the steps below:
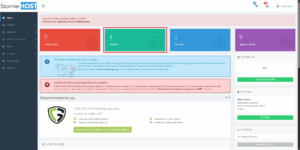
- Log in to Your Stormerhost Client Area: Go to stormerhost.com and click on Client Login at the top right. Enter your login details to access your dashboard.
- Go to My Services: Once logged in, click on Services on the left panel → My Services to see a list of all your active hosting plans.

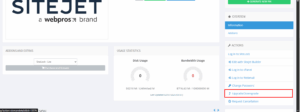
- Select the Hosting Plan You Want to Upgrade: Find the plan you want to upgrade, and click on Manage.

- On the right panel, select and click on Upgrade/Downgrade.

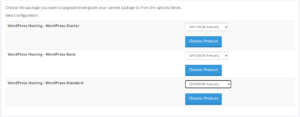
- Choose Your New Plan: You’ll now see available hosting plans. Choose the one that best fits your needs (e.g., more space, higher speed, better performance).

- Follow the remaining instructions on payment to complete the upgrade process.
Once payment is complete, your new hosting plan will be activated—usually within a few minutes. You’ll receive a confirmation email.
Check Your New Resources Log into your cPanel to confirm that your upgraded features (like disk space and bandwidth) have been applied.
