Did you know you can setup your GitHub repository in your cPanel and every push you make in the repo is updated in the cPanel as well??😲🤯
This is the Step-by-Step Guide to Clone a GitHub Repo in your cPanel:
1. Login to your cPanel and click on Git Version Control.
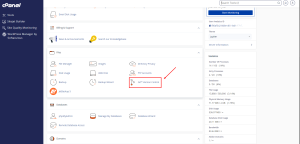
GitHub cPanel Setup 1
2. Click on the Create button. This will take you to the Create Repository page.
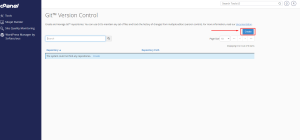
GitHub cPanel Setup 2
3. Check on the Toggle bar to activate Clone a Repository.
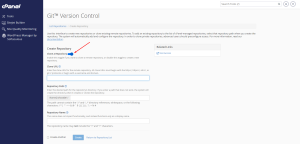
GitHub cPanel Setup 3
4. In the Clone URL field enter the clone URL for the remote repository. All clone URLs must begin with the http://, https://, ssh://, or git:// protocols or begin with a username and domain (Example: https://github.com/Stormer-Host/git-upload-cpanel.git).
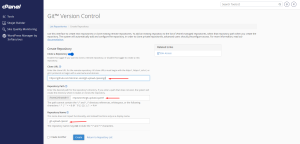
GitHub cPanel Setup 4
5. The Repository Path and Repository Name will automatically be filled. You can change the Repository Path to a directory of your choice and you can also update the Repository Name to your choosing as well. It does not impact functionality.
6. Click on Create.
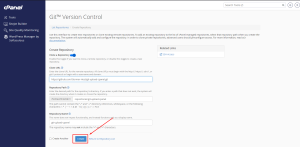
GitHub cPanel Setup 5
7. Cloning is successfully done. Check the directory in your File Manager to confirm cloning.

GitHub cPanel Setup 6
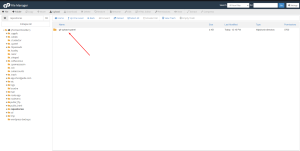
GitHub cPanel Setup 7
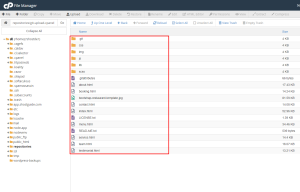
GitHub cPanel Setup 8
8. Done.
Important Notes:
- Ensure you have Git installed on your cPanel server.
- Make sure your GitHub repository is public if you do not want to deal with authentication. Otherwise, you will need to authenticate using SSH keys or personal access tokens.
- If you want to run your repo live on the web whiles connected to GitHub, setup the Repository Path to the directory of the Domain or Subdomain.
