JetBackup 5 is a powerful and user-friendly backup solution for cPanel. It allows users to easily create, manage, and restore backups. Whether you need to restore your entire website or just specific files, JetBackup makes it simple to restore backups in a few steps. In this guide, we’ll walk you through restoring a specific backup using JetBackup 5 on cPanel.

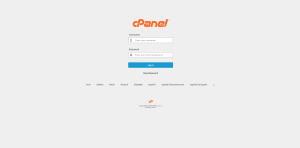
Step 1: Log into cPanel
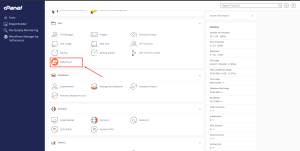
Step 2: Click on JetBackup 5 to access the backup management interface.
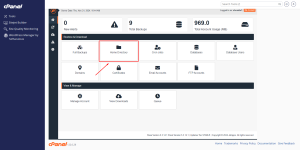
Step 3: Click on Home Directory Backup
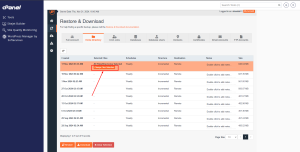
Step 4: Select the backup by the preferred date and click on “Change Files Selection”.
Step 5: Open the folder for the specific directory.
NB: Click on the name of the folder not the check box
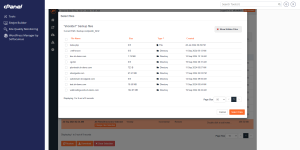
Step 6: Click on the check box for the specific folder(s)/file(s) to restore.
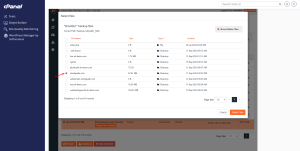
Step 7: Click on the Select Files button. The directory box will disappear.
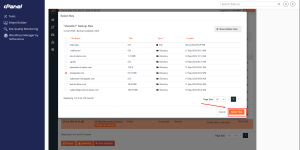
Step 8: Click on the Restore button. Restoring process will begin.
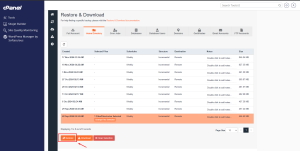
Step 9: Monitor the Restoration Process
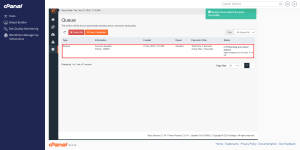
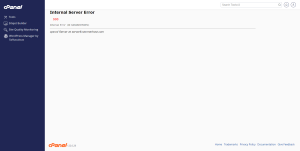
NB: If this displays after starting the restoration, do not panic, it is a temporary timeout when the restoration is in process.
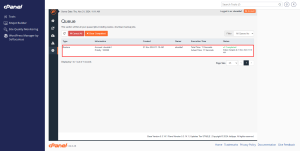
Step 10: Restoration Process is complete. Verify your file directory if the files has been restored.
Done.
