How to Restore a Database Using JetBackup in cPanel
Databases are the backbone of many websites and applications, especially content management systems like WordPress, Joomla, and Magento. If your database gets corrupted, deleted, or overwritten, JetBackup on cPanel allows you to restore it quickly, along with the associated database user if needed.
This guide walks you through the steps to restore a MySQL database using JetBackup.

Step-by-Step Guide: Restore Database
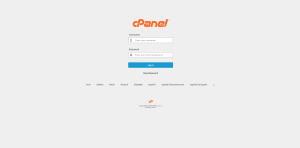
Step 1: Log in to your cPanel
-
Go to your cPanel login page.
-
Enter your username and password to access your hosting dashboard.
Step 2: Open JetBackup
-
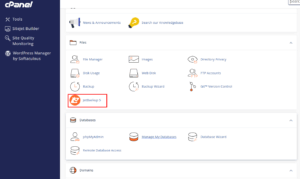
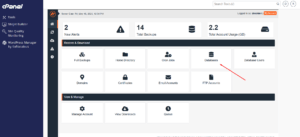
Scroll down to the JetBackup section or search for it using the search bar.
-
Click on “Database Backups” or simply “Databases”, depending on your host’s JetBackup version.
Step 3: View Available Database Backups
-
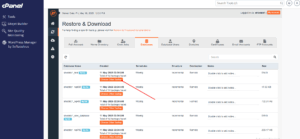
A list of your MySQL databases will be displayed along with available backup dates.
-
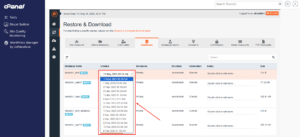
Select the backup date you want restored from the drop down list of backup dates.
-
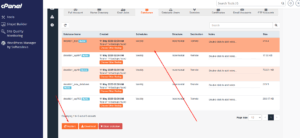
After selecting the backup date, select the database and click on the “Restore” button.
Step 4: Confirm the Restore
-
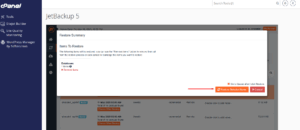
JetBackup will ask for confirmation before beginning the restore process.
- Click “Restore Selected Items” to proceed.
-
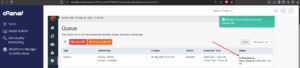
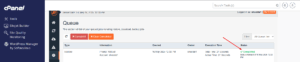
The restoration will be queued, and you can monitor its status in the “Queue” section.