How to Download Backups Using JetBackup in cPanel
JetBackup is a reliable tool integrated into many cPanel hosting environments, allowing users to manage and restore backups easily. While its primary feature is restoring data, it also gives you the option to download full or partial backups of your files, databases, emails, and more, perfect for local safekeeping or manual migration.
This guide will walk you through how to download backups using JetBackup on cPanel.

JetBackup 5
What Can You Download?
JetBackup allows you to download various types of backups, including:
-
Home Directory (website files, configurations)
-
MySQL Databases
-
Email Accounts
-
Cron Jobs
- Domains
-
DNS Zone Files
Step-by-Step: How to Download Backups
Step 1: Log in to Your cPanel
-
Navigate to your cPanel URL (usually something like
yourdomain.com/cpanel). -
Enter your username and password.
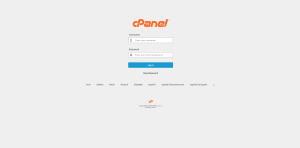
JetBackup 5 – Backup
Step 2: Access JetBackup
-
Scroll down or search for the JetBackup section.
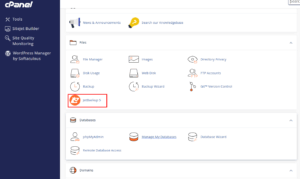
JetBackup
-
Click on the appropriate option depending on what you want to download:
-
“File Backups” for home directory
-
“Database Backups” for MySQL databases
-
“Email Backups” for email accounts
- Full Account Backup
-
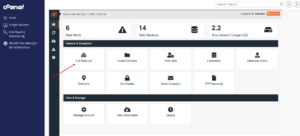
JetBackup – Download
Step 3: Choose a Backup Point
-
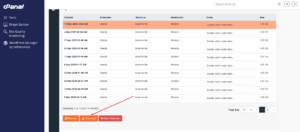
You will see a list of backup snapshots sorted by date.
-
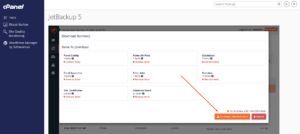
Select the backup date you want by clicking “Download” or “Generate Download” next to the desired item.
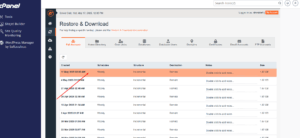
JetBackup – Download
JetBackup – Download
JetBackup – Download
JetBackup – Download
Step 4: Generate the Download File
-
JetBackup may take a few minutes to generate the file, especially if it’s large.
-
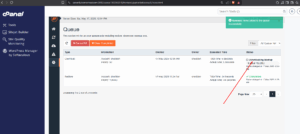
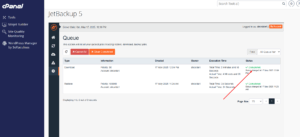
The request will be placed in the Queue.
-
To monitor progress, go to JetBackup > Queue.
JetBackup – Download
Step 5: Download the File
-
Click on the Download menu to locate the generated backup for download.
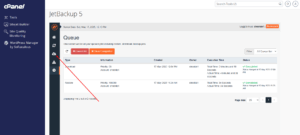
JetBackup – Download
- Click on the Download button
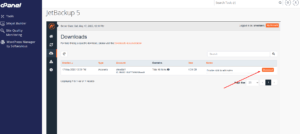
JetBackup – Download
-
Click the link to save the file to your local machine.
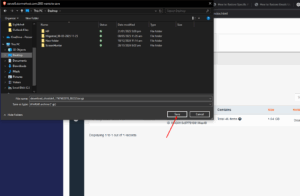
JetBackup – Download
- Verify if the the backup has downloaded to your local device successfully.
