How to Restore Specific Home Directories Using JetBackup in cPanel
JetBackup is a powerful backup and restore solution integrated into many cPanel environments. Whether you’ve accidentally deleted files, overwritten website content, or want to roll back changes, JetBackup makes it easy to restore specific home directory folders/files, without needing to restore your entire account.
This guide will show you how to restore selected directories or files from your home directory using JetBackup.

JetBackup 5
What Is the Home Directory?
Your home directory in cPanel contains all the files for your websites, including:
-
Public website files (e.g.,
public_html/) -
Application data
-
Configuration files
-
Custom folders
Instead of restoring everything, JetBackup allows you to select specific folders or files within the home directory to recover.
Step-by-Step Guide: Restore Specific Directories in JetBackup
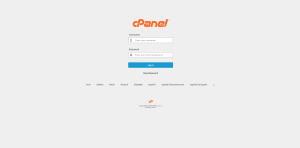
Step 1: Log in to Your cPanel
-
Open your browser and navigate to your cPanel login page.
-
Enter your username and password to access the dashboard.
JetBackup 5 – Backup
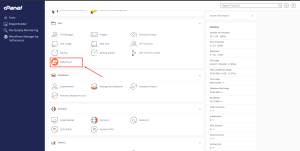
Step 2: Access JetBackup
-
Scroll down or search for the JetBackup section in cPanel.
JetBackup 5 – Backup 1
-
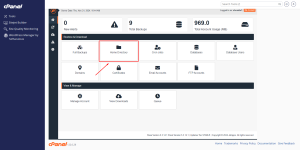
Click on “File Backups” or “Home Directory”, depending on how your hosting provider has labeled it.
JetBackup 5 – Specific Backup 2
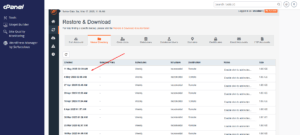
Step 3: Select a Backup Date
JetBackup – Home Directory Restoration
Step 4: Browse and Select Specific Directories
-
Click on the “Change Files Selection” button next to the desired backup.
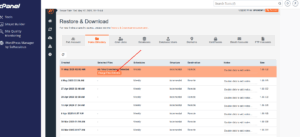
JetBackup – Home Directory Restoration
-
Navigate through your home directory structure (e.g.,
public_html, subfolders, etc.).
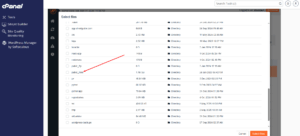
JetBackup – Home Directory Restoration
-
Check the boxes next to the folders or files you want to restore.
-
For example, select only
public_html/test.shostguide.com/if you only want to restore a specific website subdirectory.\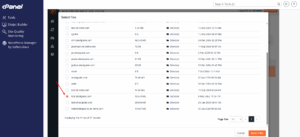
JetBackup – Home Directory Restoration
-
Step 5: Initiate the Restore
-
Once your selection is complete, scroll down and click the “Select Files” button.
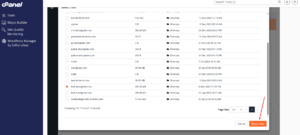
JetBackup – Home Directory Restoration
-
Confirm your selection when prompted.
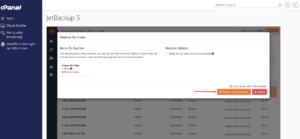
JetBackup – Home Directory Restoration
Step 6: Monitor the Restore Process
-
JetBackup will queue your restore request.
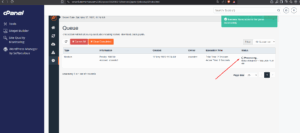
JetBackup – Home Directory Restoration
-
You can check the status in the “Queue” section of JetBackup.
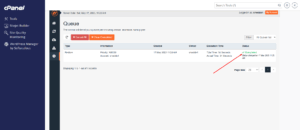
JetBackup – Home Directory Restoration
-
Once completed, the selected directories will be restored to your home directory.
