1. Login to your cPanel (www.yourdomain.com/cpanel). You may read on how to login to your cPanel from our knowledgebase.
2. Click on Email Accounts in the mail section.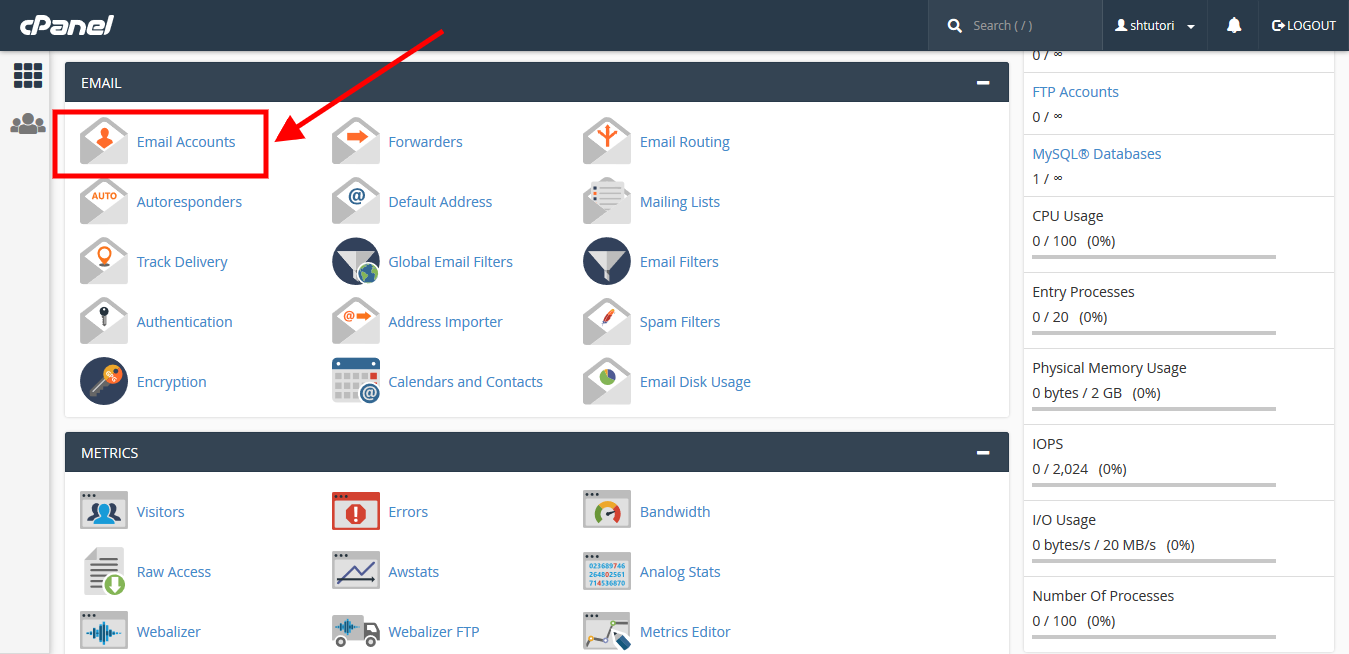
3. Click on Create on your right.

Screenshot 16
4. First, Select the domain you want the email to be created

Screenshot 17
5. Type in the email prefix you would like for your email account (eg. info, support, service , ceo, boss, help etc.) in the first field as indicated in the image below. Whatever you type in this field would be “@yourdomain.com ” (i.e your registered domain). Enter your password for your email account and click Create.

Screenshot 18
4. Successful email created can be accessed in the second tab. You may perform further actions on created email with provided action links.

Screenshot 19
Thats it 🙂
You may follow guide below to access created emails :
How to access your Webmail in a browser (Read your email)